If you stumbled upon this post but haven’t seen my lesson on blind contour hand drawings, check that link out first!
After feeling comfortable with blind contour, the next natural progression is to move on to modified contour line. So, what’s the difference between blind contour and modified contour?
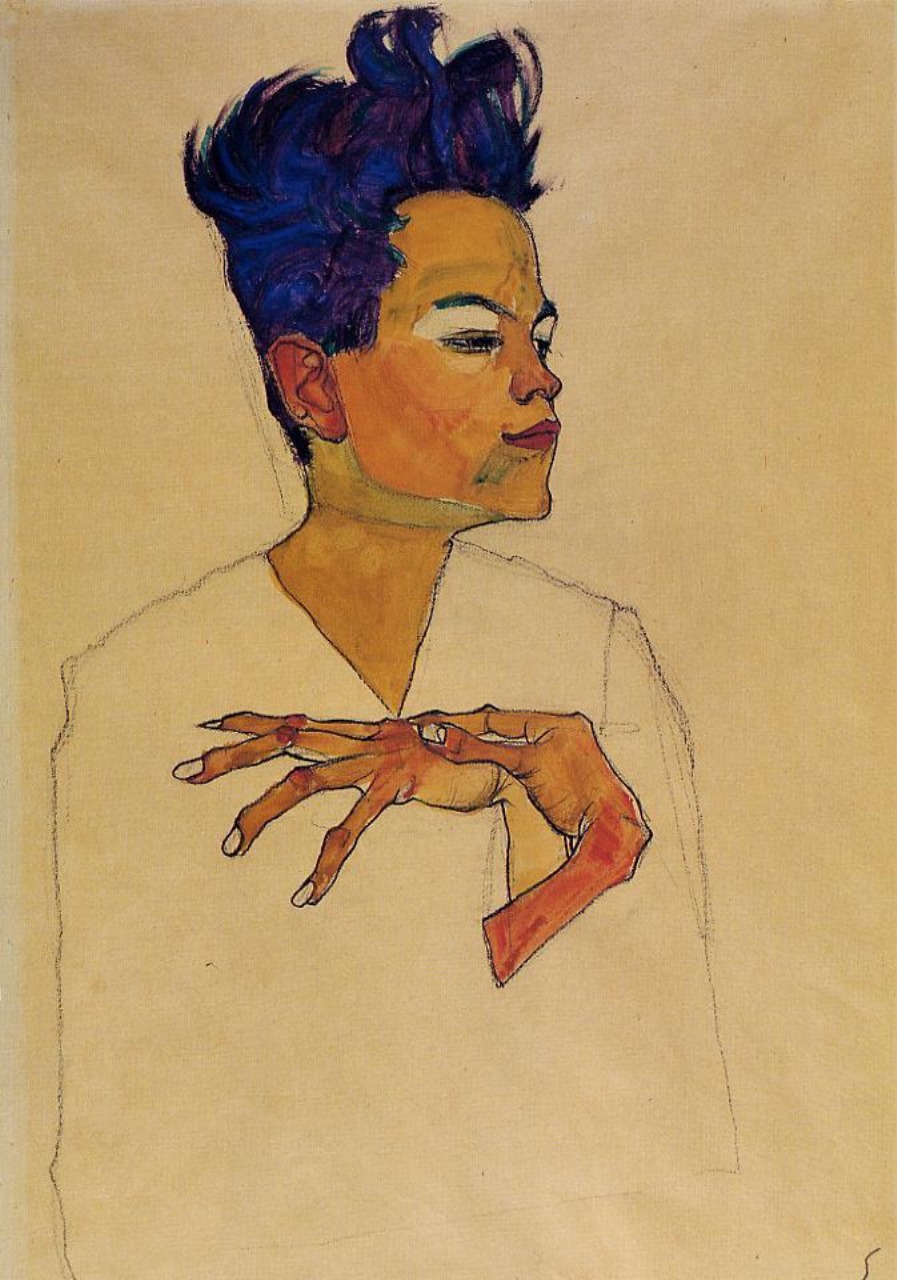
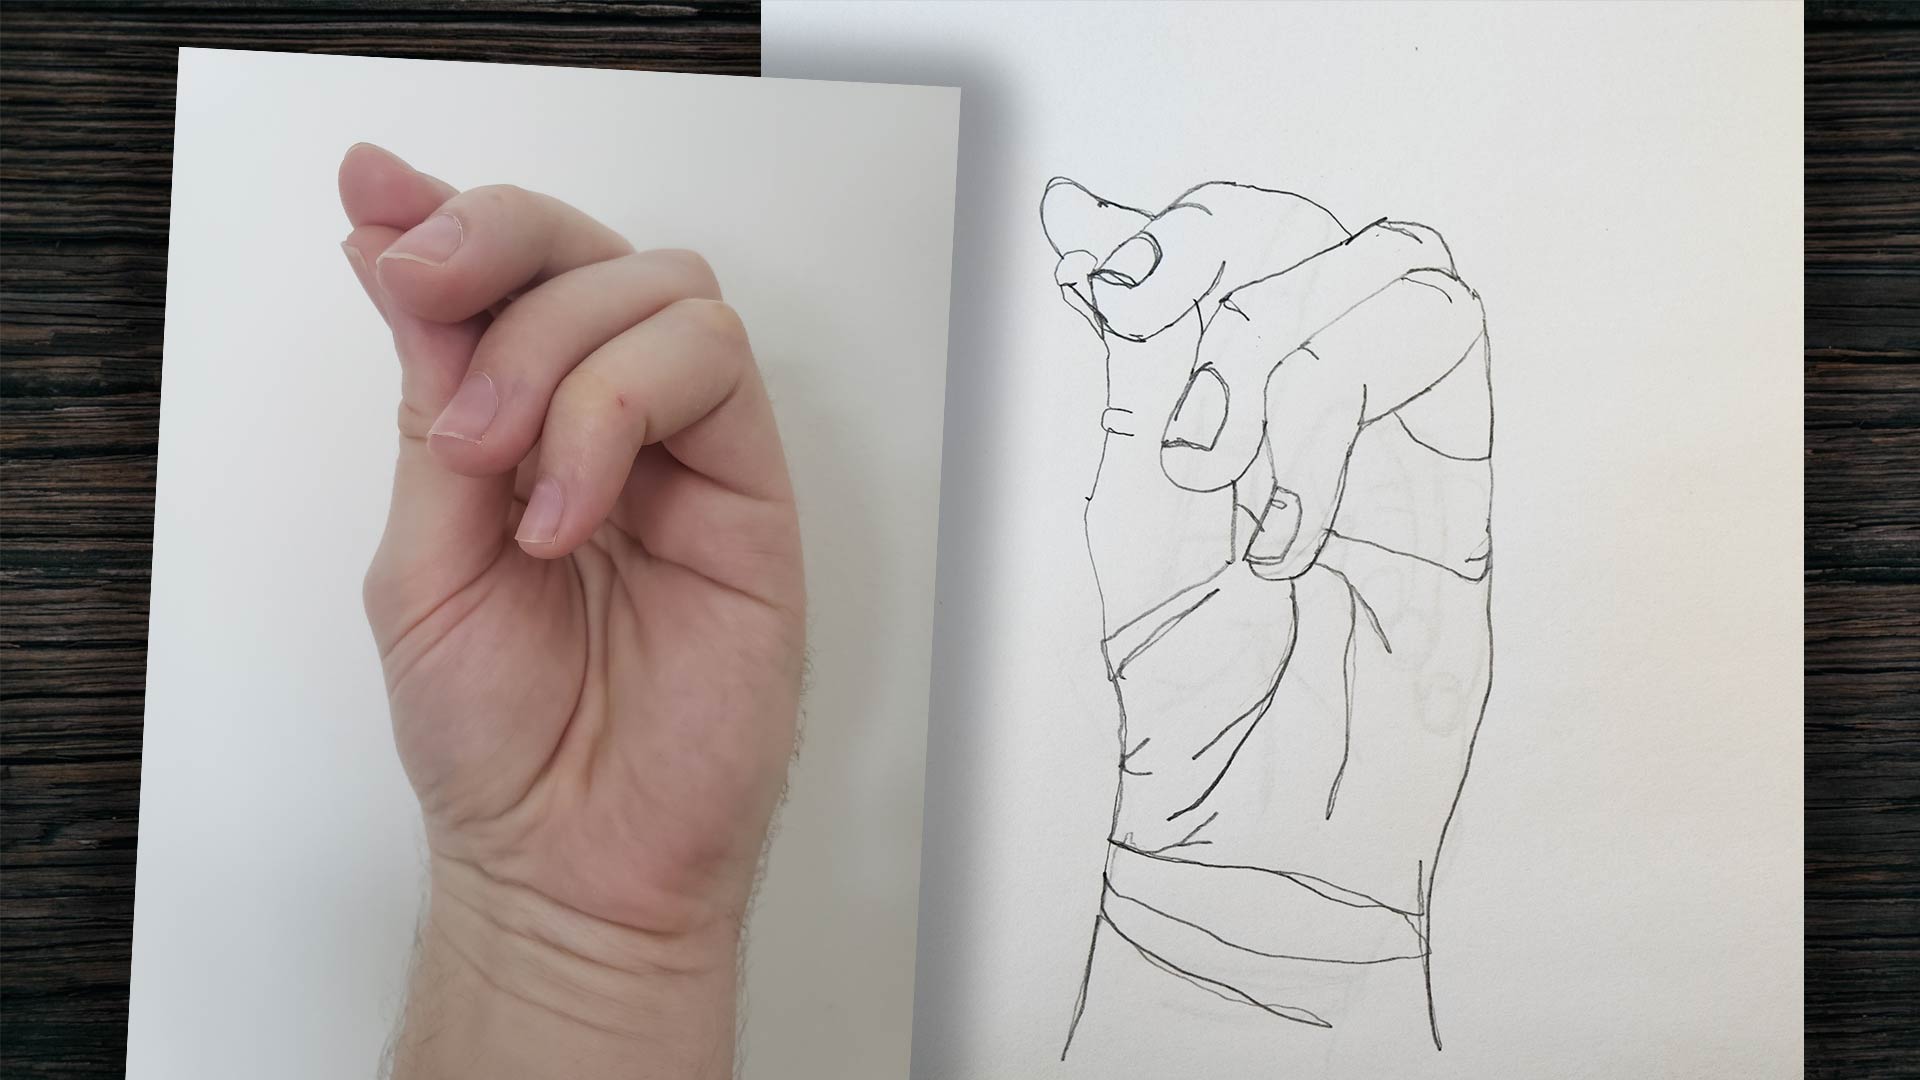
With modified contour line drawings, you’re allowed to “cheat” a little bit. When drawing, it is permissible to peak down at the paper every so often to check the placement of your hand in relation to what you’re drawing. Again, these are meant to be practice exercises when learning to draw for the first time. However, you can use modified contour line to stylize your drawings, much like Egon Schiele and the Vienna Secession artists did.

The formula I like to use when practicing modified contour is 80-20. It’s important to take in the visual information from what you’re looking at about 80% of the time. Every now and then, about 20% if the time, you can peek at your drawing to check your work and make sure your hands are in line with where your eyes are looking. These are not long looks at the paper and pencil. Rather, these are quick glances that help gauge positions. The more you practice this, the easier it becomes and the better you will be at accurately drawing what you’re seeing.
“Draw what you see, not what you think you see.“
This first video gives a basic introduction to the technique and how it changes from blind contour. I also wanted to show my eyes during drawing to make it easier to see when and how often I peek at my drawing during this exercise. Pay close attention to this part of the video, as it makes it easier to understand what “looking at your drawing” should look like. Hint: you’re not intensely staring at the page for minutes at a time.
My sweetheart, Melanie, decided to keep me company during this one! Stick around until the end of the video to see some comical cat involvement.
The videos below can be viewed in any order and help show the process with different hand poses. Make sure you’ve watched part one first, as these videos don’t have any introduction or explanation.
If you’re practicing by posing your own hand, here’s a few tips:
- Keep your head from moving. Moving your head or looking from a different angle will change the perspective of your drawing, preventing an accurate drawing.
- Prop your hand up at eye level. Rest your elbow on a sturdy surface.
- Keep your hand in the same position. It can be tempting to slowly rest your hand on the table. Avoid doing this, as it will change the perspective of your drawing.
- If all else fails, take a picture with your phone. Practice from pictures until you gain more comfortability.
And lastly…
Draw what you see, not what you think you see.


